
The sun is out, so a cool treat is necessary. Making Ice Cream is a fun experiment to end the school year with and a delicious treat to help the students remember that science is everywhere. Not only does the Ice Cream lab provide chemistry techniques, but also cooking skills. The Ice Cream was made inside of a ziploc bag, giving it some popularity for it simple uniqueness.
What’s the science? From personal experience in the kitchen you would know that ice would not freeze cream in 10 minutes. The science is in the rock salt. The salt lowers the freezing point of the water, causing for it to go back into liquid form. As the ice absorbs heat from its surroundings, the water molecules that were once solid ice speed up. The liquid molecules that were once a cream liquid mixture are now frozen, having released heat to the ice. An endothermic reaction!
The materials required for the lab need to be prepared ahead of time to be sure of efficiency of the experiment be it for a larger group or at home for fun. A last key characteristic to delicious ice cream is of course quality ingredients. Get any alternatives of the ingredients below. Enjoy your Ice Cream.
Materials
4 cups Ice
4 tbsp Rock Salt (or other forms of course salt)
1/2 cup Heavy Cream (or milk alternative of your choice)
1/2 tsp Vanilla Extract
1/2 tbsp Sugar
Gallon Ziploc Bag and Small Ziploc Bag
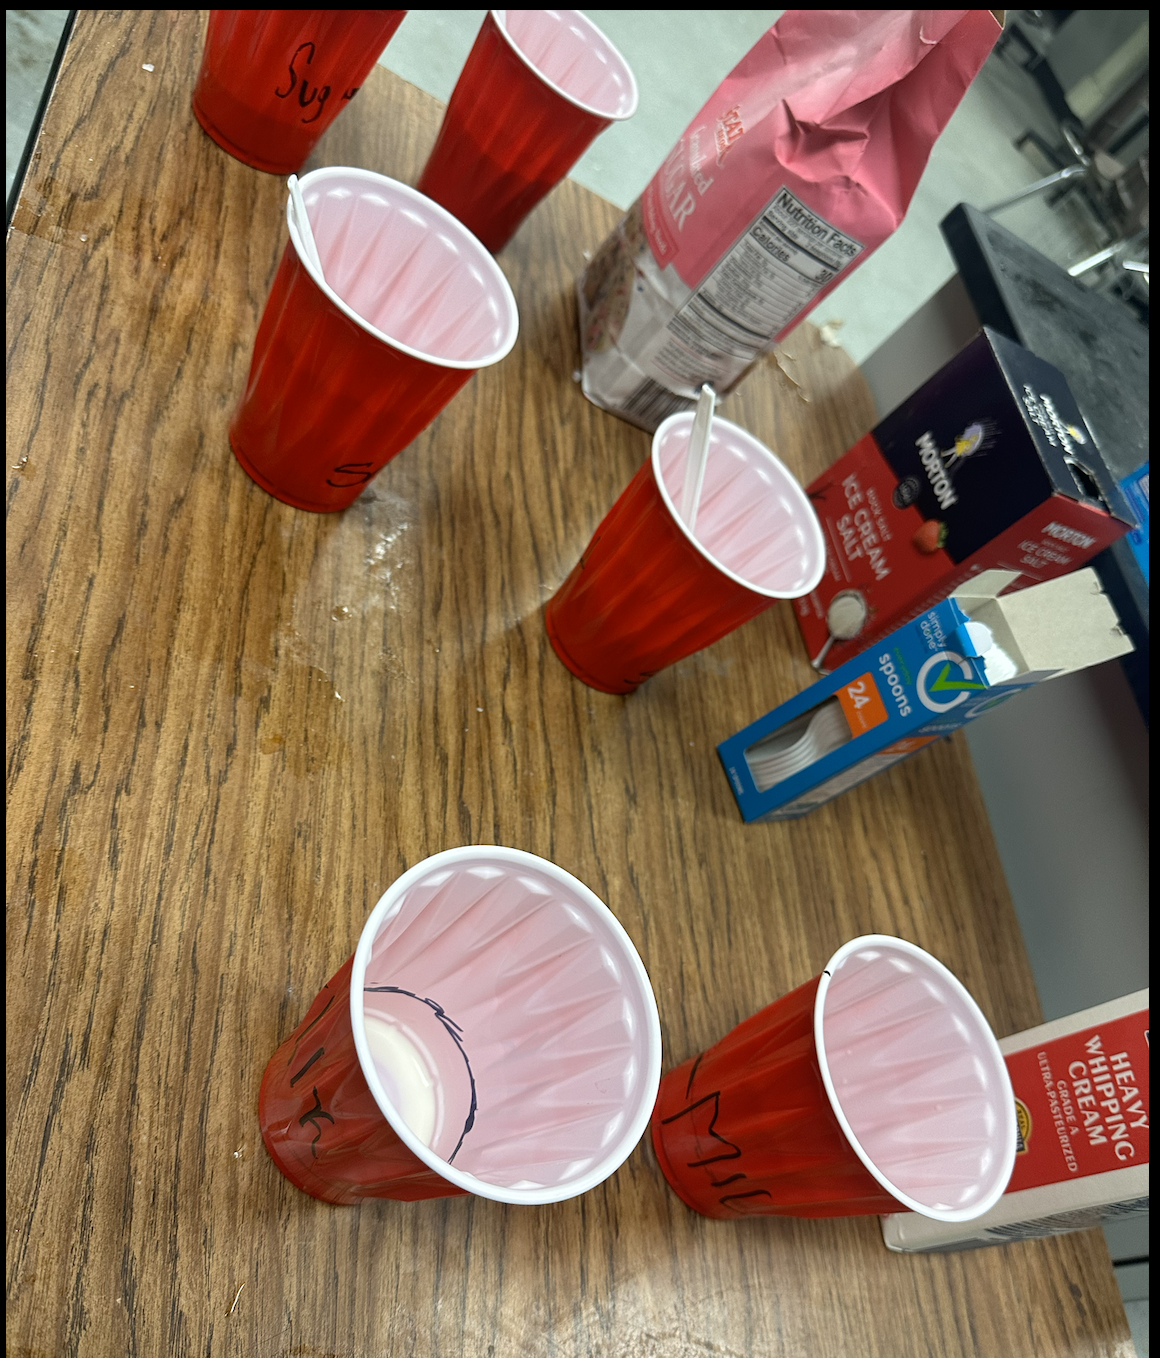
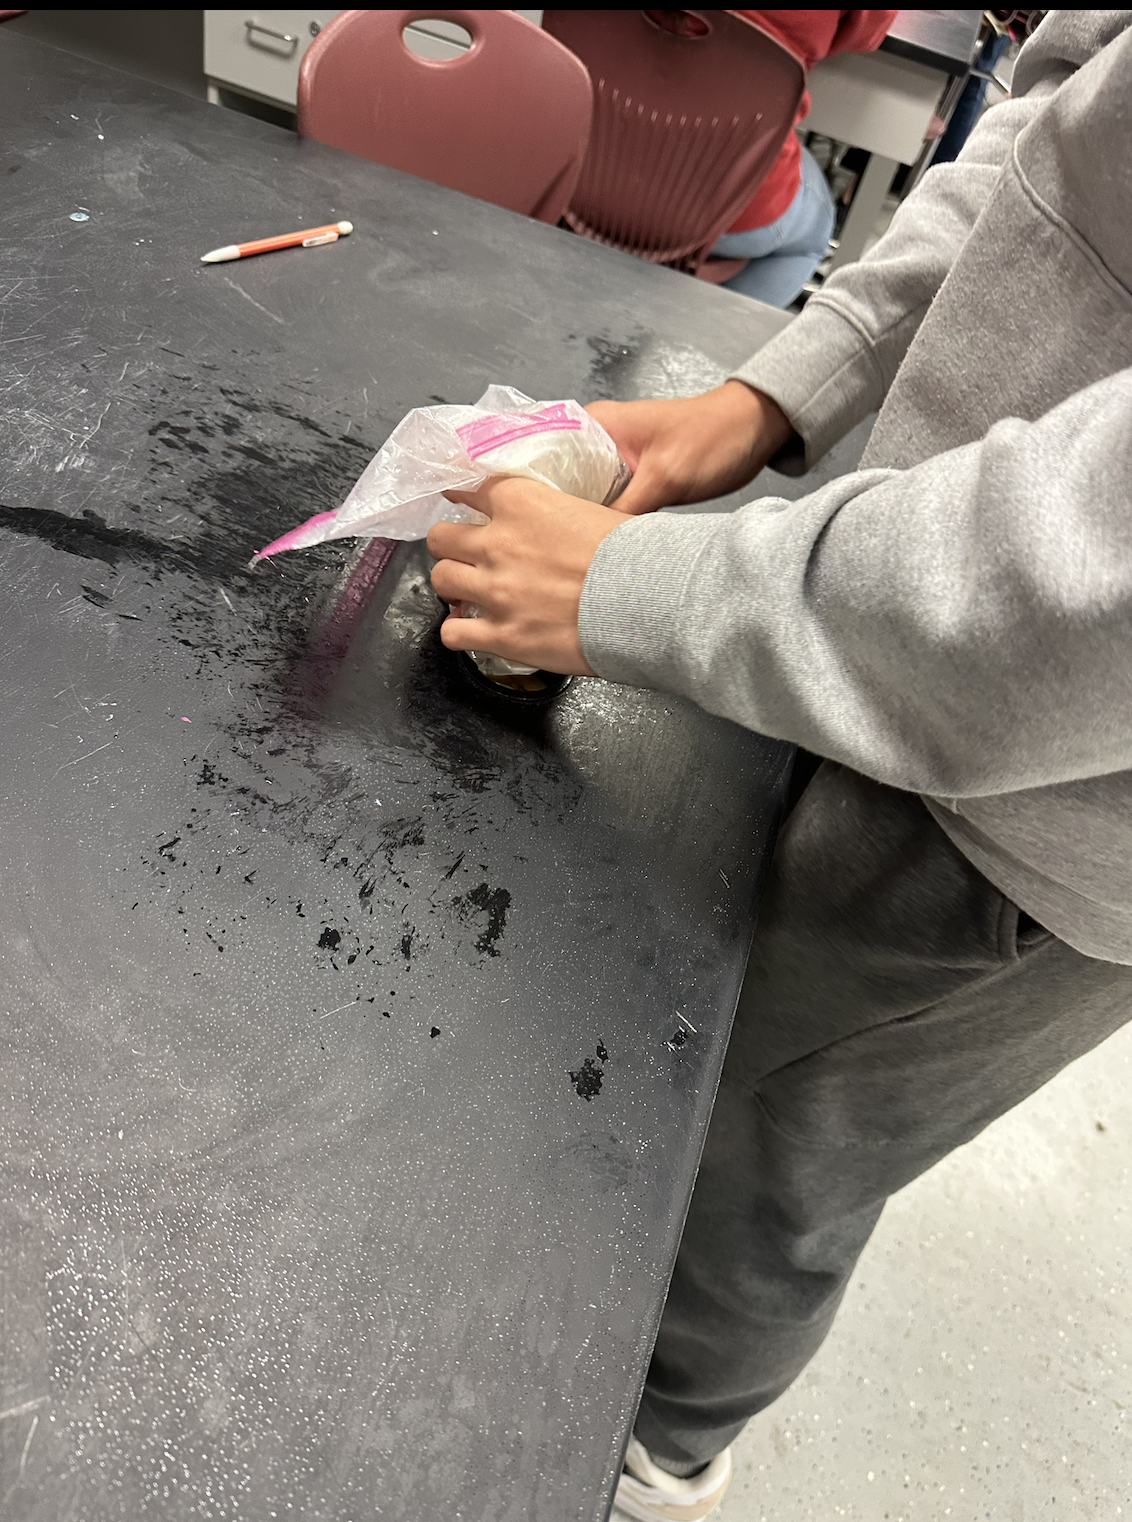
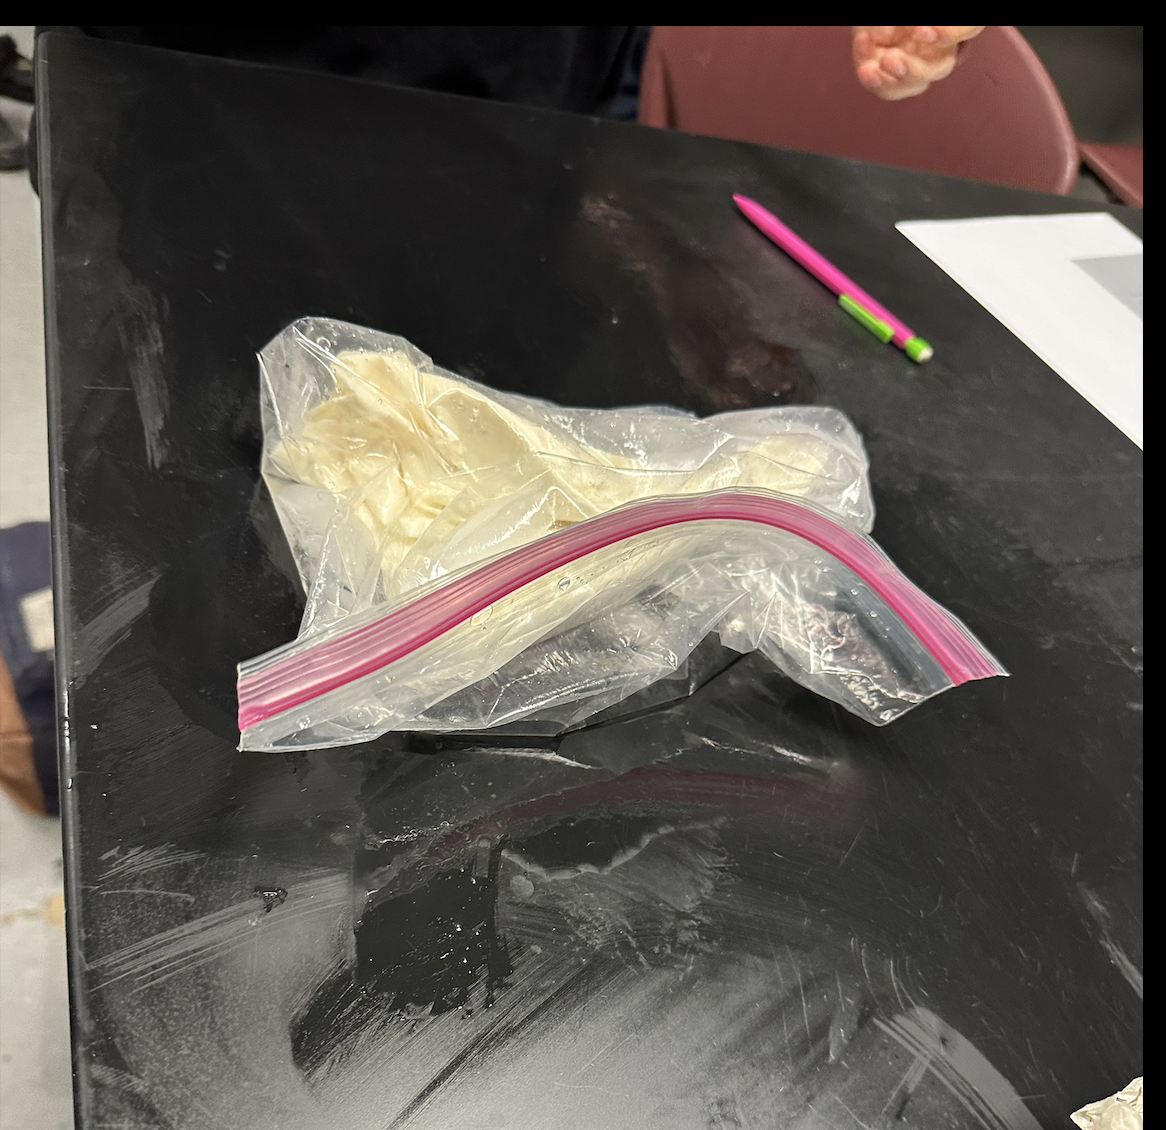
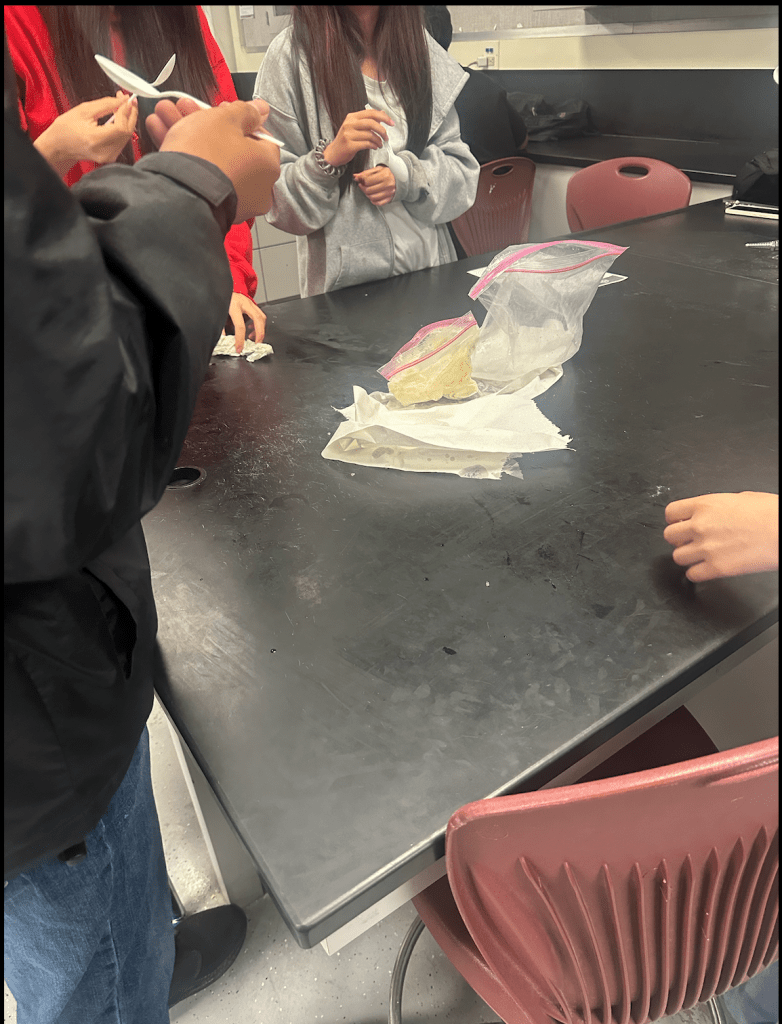
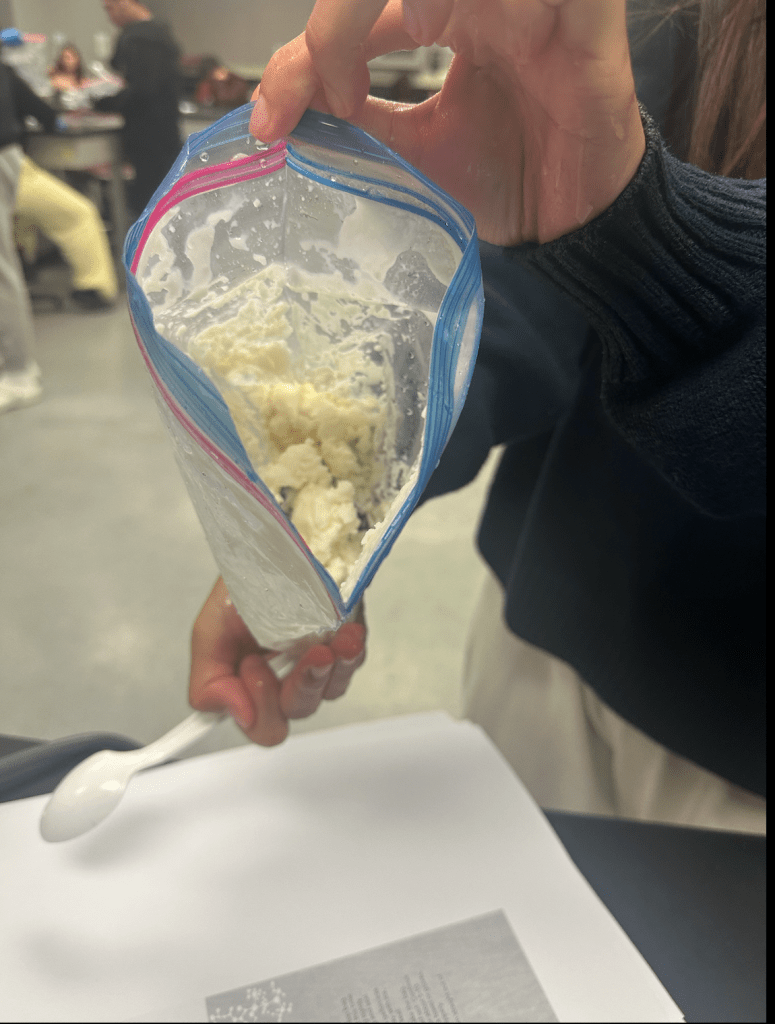
Left: Ingredients set up for easy instructions for students, Middle: Students mixing there ice cream contents, Right: Solid ice cream product inside the bag
Instructions
- Place Cream, Vanilla, and Sugar into small ziploc bag. Release air and close bag.
- Place Ice and Rock Salt into Large Ziploc Bag. Place Small Ziploc Bag into large ziploc bag, release air and seal bag close.
- Mix ice and salt mixture around the cream mixture for about 10-12 minutes or until hardened to desire.
- As ice melts add more ice, to increase reaction rate add more salt.
- Enjoy your ice cream.

Leave a comment